Background Removal Tips & Troubleshooting
Learn best practices for clean background removal and how to fix common issues like images not saving as transparent.
Table of Contents
3 Tips for Perfect Background Removal
Discover professional techniques to get the best results using EzStampify's advanced features.
Tip 1: Multiple Color Selections for AI Art
AI-generated art often has subtle noise in 'solid' backgrounds. Try picking different spots with the eyedropper multiple times or fine-tuning the 'Tolerance'. Avoid raising tolerance too high at once; instead, remove different shades step-by-step.
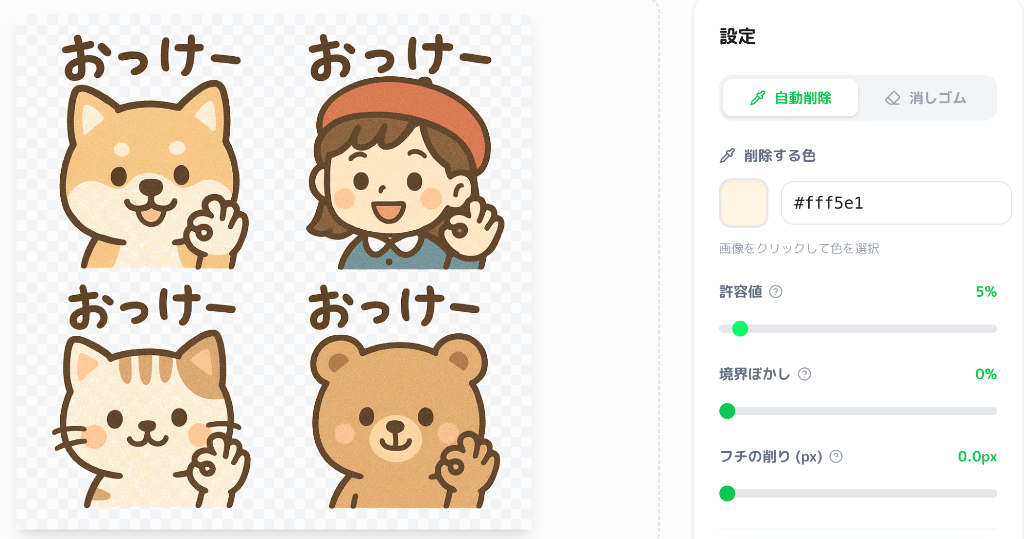
Tip 2: Use 'Edge Shrink' to Remove Fringes
If background colors remain around the edges, use the 'Edge Shrink' feature. Shrinking the boundary by just a few pixels can significantly clean up the 'leftover' background noise.
Tip 3: Trust 'AI Background Removal' for Complex Photos
For photos of people or complex subjects, the 'AI Background Removal' mode is far superior to color-based removal. It automatically detects subjects and handles fine details like hair with high precision.

Troubleshooting: Why Background Removal Fails
If your image isn't becoming transparent or has a white background, check these common reasons.
1. Incorrect File Format (JPEG)
JPEG does not support transparency. Always save your files as PNG or WebP to keep the background transparent.
2. Visual Bugs on iOS/Android
Gallery apps often display transparent areas as solid white or black. Check the actual data by importing it into a graphics editor.
3. Low Contrast Problems
If the background color is too close to your subject, the AI might fail. Use high-contrast images or the manual eraser tool for fine-tuning.
4. Memory & Performance
Large images can crash the browser's memory. Reload the page or close other tabs to ensure smooth background removal processing.